Symbols of Drawing
Lesson 5
Negating and Identifying Powerful Symbols
Drawing #8 Find an image of anyone. Could be a famous person, could be a relative. Doesn't matter who. But try to find an image that is at least is decently lit. You are going to stare at this image for three minutes. Trying to take in every little detail you can. Then, after three minutes is up I want you to put the photo away and draw the person from memory. You have 20 minutes. You may begin.
STOP! You must complete drawing #8 before you go any further.
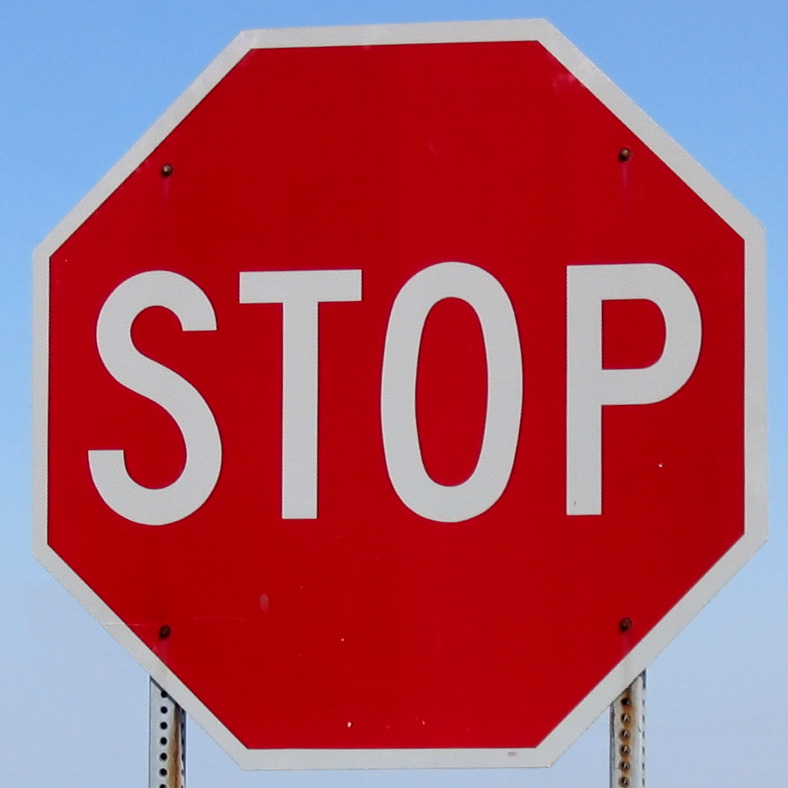
We are surrounded by symbols in this day and age. We may even react to them without knowing. A red octagonal sign means "Stop!" all over the world. Other basic symbols tell us where the elevator is or where to run in case of fire. The most common type of symbol we see in every day life is something called a pictogram. In the pictogram below it is very easy to understand that this is a washroom for both women, men, and handicapped accessible.

While these types of symbols can be great for communicating basic messages they cause big problems for drawings. Here's one of the most important things to remember in this entire course. If you want to learn how to draw you have to stop thinking about what it "is" that you are drawing, and instead think of what you are drawing as a giant puzzle of shapes, shadows, and lines. So, if you're drawing an elephant, don't think of the trunk as a trunk, but instead the elephant trunk is just an abstract mass of shadow and line. This is what it means to start "seeing" like an artist.

Let's look at an example of a student's work who also did the "Drawing from Memory" assignment. In the first image we see the original image the student was working from.

In the memory drawing we get a good feeling for how the student makes certain features of the face. It is important to identify these symbols for "eyes" and "nose" so we can catch them when they sneak into places that we don't want. Everyone has a certain sets of symbols they use to construct drawings (especially portraits). Later on we can use these symbols to our benefit, so we don't want to throw out the baby with the bath water. But for now we need to identify what our habits are, and what symbols we use. This way we can stop using symbols for "eyes" and "noses" and start to really look at the shadow shapes present which give the illusion of an eye or a nose.
Drawing #9 "Drawing A Portrait from a Photo" (Sideways)
For this drawing you are going to be drawing from the image that you memorized for your first drawing. But as always, there's a twist. We really want to stop your brain from naming everything it's drawing so you will be drawing the portrait on it's side. No, you don't have to stand on your head, instead just turn the image on its side (see example below). For the shading you will be making simple left to right marks. Imagine that you are drawing the way a printer prints. Your pencil makes a simple left to write mark every time it sees an area of shadow. And yes, you may look at the source image.

You can touch up a few small lines indicating direction in the end but try to keep most of the lines moving in the same direction. You have up to an hour for this drawing so take your time. Once finished compare the drawings side by side and it will be obvious what symbols you generally use. Now that they've been identified they can be quarantined and perhaps we'll use them later, but generally, they are just left-overs from what someone told you when you were 14 years old. Forget about them and push forward, you still have to learn all about form, line, value, shape, space, texture, and color. Your old symbols probably won't be of much help. In fact they are generally the biggest stumbling block for older students to overcome. Learn to draw seeing shadow and light shapes.
